Having trouble with Zoom not working on your Mac after an update? Follow these steps to uninstall and reinstall the application before attempting to connect again.
This can fix common issues such as the error message “You are unable to connect to Zoom. Please check your network connection and try again. ” Additionally, you can try zooming in and out on your Mac using trackpad gestures.
If all else fails, you can force an update by re-downloading and reinstalling Zoom manually instead of relying on the automatic updater. Troubleshooting issues with Zoom update and installation can also be resolved by checking your internet connection, clearing cache and cookies, and ensuring your device has enough space to install Zoom.
Credit: macpaw.com
Reasons For Zoom Not Working On Mac After Update
There could be several reasons why Zoom is not working on Mac after an update. Let’s explore some of the common ones:
Unstable Network Connection
One possible reason for Zoom not working on Mac after an update is an unstable network connection. If your internet connection is weak or intermittent, it can cause issues with Zoom’s performance. To resolve this, try the following:
- Check your Wi-Fi or Ethernet connection and ensure that it is stable.
- Restart your modem or router to refresh the network connection.
- Move closer to your Wi-Fi router to improve signal strength.
Outdated Zoom Application
Another reason for Zoom not working on Mac after an update could be an outdated Zoom application. It is essential to keep your Zoom app up to date to ensure compatibility with the latest Mac software. Here’s what you can do:
- Open the Zoom desktop application.
- Select “zoom.us” at the top of your screen and choose “Uninstall Zoom.”
- Confirm the uninstallation of Zoom and its components by clicking “OK.”
- Once completed, reinstall Zoom from the official download center.
Compatibility Issues With Mac Software
Compatibility issues with your Mac software can also cause Zoom to stop working after an update. To address this problem, follow these steps:
| 1 | Make sure your Mac software is up to date by clicking on the Apple menu, selecting “System Preferences,” and then choosing “Software Update.” |
| 2 | Check if your Mac meets the system requirements for running Zoom. Visit the Zoom website for the latest system requirements. |
| 3 | If you have recently installed any third-party software or plugins that could interfere with Zoom, try disabling or uninstalling them. |
By addressing these reasons, you should be able to fix Zoom not working on your Mac after an update. Remember to maintain a stable network connection, keep your Zoom app updated, and ensure compatibility with your Mac software. If the issue persists, you may need to reach out to Zoom’s support for further assistance.
How To Fix Zoom Not Working On Mac After Update
If you’re experiencing Zoom not working on your Mac after an update, try uninstalling and reinstalling the application. This can often resolve connectivity issues. Additionally, you can try clearing cache and cookies, checking your internet connection, and ensuring you have enough space to install Zoom.
Check Network Connection
If you’re facing issues with Zoom not working on your Mac after an update, the first step is to check your network connection. A stable and reliable internet connection is crucial for Zoom to function properly. Make sure you are connected to a strong Wi-Fi or wired network. You can also try resetting your network settings or restarting your router to fix any connectivity issues.
Update Zoom Application
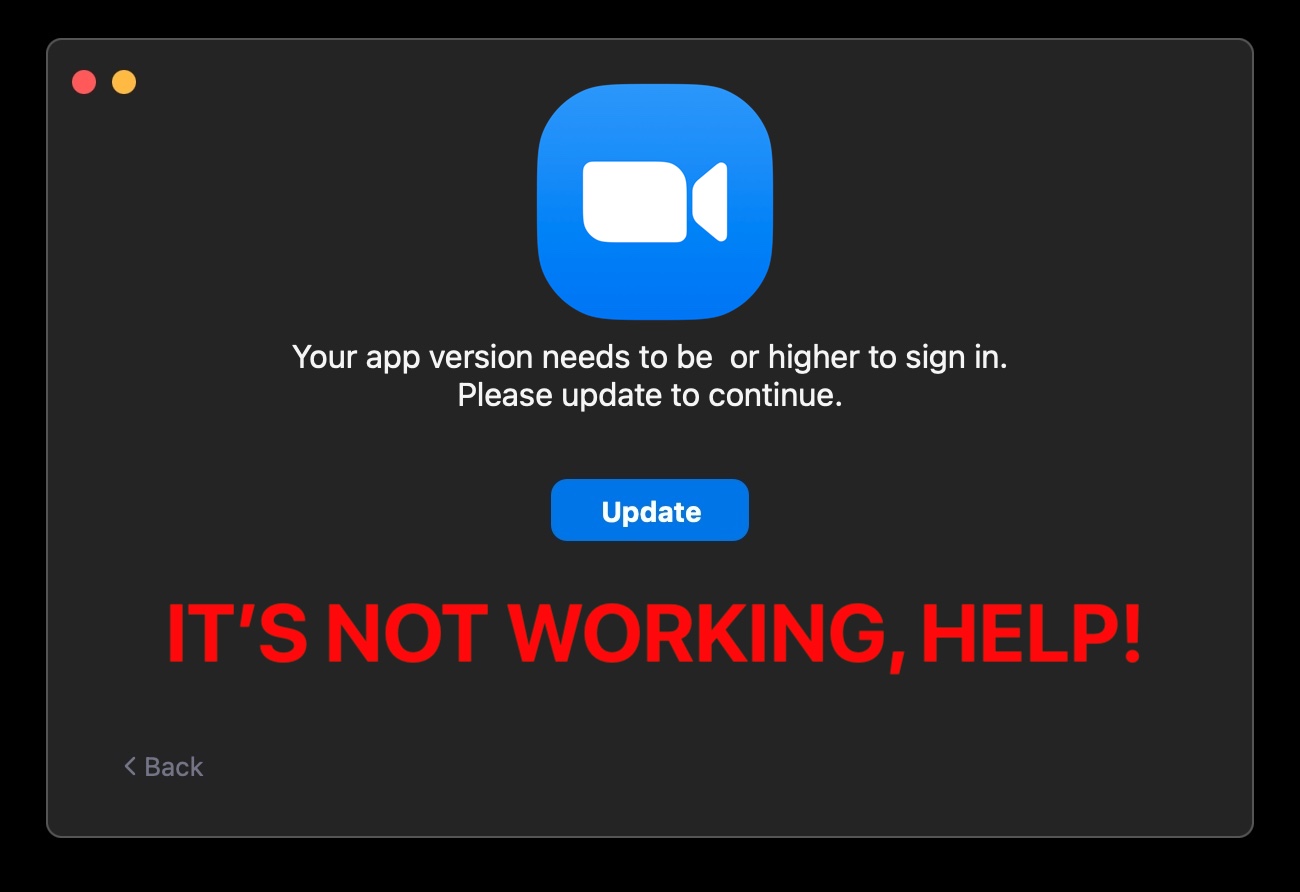
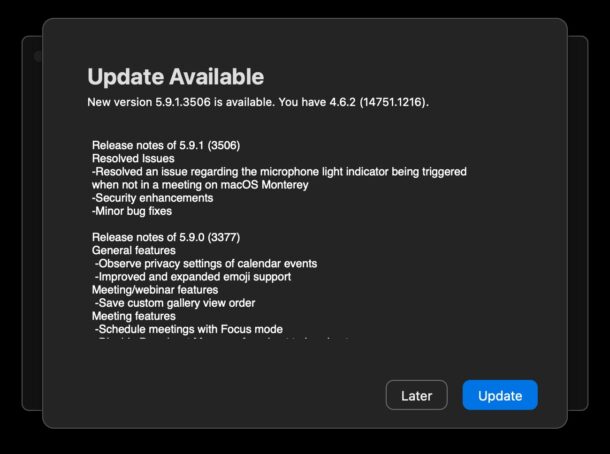
Another potential solution is to update the Zoom application itself. Sometimes, outdated software can cause compatibility problems and prevent Zoom from working properly. Go to the Zoom website or open the Zoom desktop application to check for any available updates. Download and install the latest version of Zoom, which may include bug fixes and improvements that can resolve the issue.
Clear Cache And Cookies
In some cases, Zoom may not work properly due to cache and cookie issues. Clearing these data can help resolve any conflicts or outdated information that might be causing the problem. To clear cache and cookies on your Mac, follow these steps:
- Launch the Safari browser.
- Click on “Safari” in the menu bar.
- Select “Preferences” from the drop-down menu.
- Go to the “Privacy” tab.
- Click on “Manage Website Data”.
- Select “Remove All” to clear all cache and cookies.
- Restart your Mac and try using Zoom again.
Reinstall Zoom
If the previous steps didn’t resolve the issue, you can try uninstalling and reinstalling the Zoom application on your Mac. This ensures a fresh installation and can help fix any software-related issues. To reinstall Zoom, follow these steps:
- Open the Finder application on your Mac.
- Go to the “Applications” folder.
- Find the Zoom app and drag it to the trash.
- Empty the trash to completely remove Zoom from your Mac.
- Visit the Zoom website and download the latest version of the application.
- Install Zoom by following the on-screen instructions.
- Launch Zoom and check if the issue is resolved.
Verify System Requirements
Lastly, make sure your Mac meets the system requirements for Zoom. Outdated hardware or software may not be compatible with the latest Zoom updates, causing it to malfunction. Check the Zoom website for the minimum system requirements and compare them to your Mac’s specifications. If your Mac falls short, consider upgrading your hardware or contacting Zoom support for further assistance.
Additional Tips And Troubleshooting
If you’re still experiencing issues with Zoom after updating your Mac, here are some additional tips and troubleshooting steps you can try:
Check For Mac Software Updates
One common reason why Zoom may not be working after a Mac update is due to incompatible software. To ensure your Mac is up to date with the latest software, follow these steps:
- Click on the Apple menu in the top left corner of your screen.
- Click on “System Preferences”.
- Click on “Software Update”.
If there are any available updates, click on “Update Now” and follow the on-screen instructions to install them. Restart your Mac after the updates have been installed and try using Zoom again.
Ensure Camera And Microphone Access
Zoom requires access to your camera and microphone to function properly. If you’re experiencing issues with video or audio during Zoom meetings, make sure that Zoom has been granted access to these peripherals. Here’s how:
- Click on the Apple menu in the top left corner of your screen.
- Click on “System Preferences”.
- Click on “Security & Privacy”.
- Go to the “Privacy” tab.
- Select “Camera” from the left sidebar.
Make sure the checkbox next to Zoom is checked. If it’s not, click on the lock icon in the bottom left corner of the Security & Privacy window, enter your admin password, and check the box next to Zoom.
- Select “Microphone” from the left sidebar.
Again, ensure that the checkbox next to Zoom is checked. If not, repeat the previous step to grant Zoom microphone access.
Seek Help From Zoom Support
If none of the above troubleshooting steps resolve the issue, it’s recommended to seek help from Zoom Support. They have a dedicated support team available to assist you with any Zoom-related problems. Here’s how you can contact them:
- Visit the Zoom Support website at https://support.zoom.us.
- Click on “Contact Support” at the top of the page.
- Fill out the support form with your details and a description of the issue you’re experiencing.
- Click on “Submit” to send your support request.
Zoom Support will get back to you as soon as possible with further assistance.
By following these additional tips and troubleshooting steps, you should be able to resolve any Zoom-related issues on your Mac and get back to enjoying seamless video conferencing and online meetings.
Credit: osxdaily.com
Credit: macpaw.com
Frequently Asked Questions For Zoom Not Working On Mac After Update: How To Fix?
Why Is Zoom No Longer Working On My Mac?
If Zoom is not working on your Mac, try uninstalling and reinstalling the application. This can fix issues like being unable to connect with the error message “You are unable to connect to Zoom. Please check your network connection and try again.
” Follow these steps: Open the Zoom desktop application, select “zoom. us” at the top of your screen, and choose “Uninstall Zoom. ” Confirm the uninstallation and then reinstall Zoom from the official download center.
How Do I Get My Zoom Back To Normal On Mac?
To get your Zoom back to normal on Mac, follow these steps: 1. Open the Zoom desktop application. 2. Select zoom. us at the top of your screen and choose Uninstall Zoom. 3. Confirm the uninstallation and all its components.
4. Once completed, reinstall Zoom from the download center. This should resolve any issues and restore your Zoom to normal on Mac.
How Do I Uninstall And Reinstall Zoom On My Mac?
To uninstall and reinstall Zoom on your Mac: 1. Open the Zoom desktop application. 2. Click on “zoom. us” at the top of your screen and select “Uninstall Zoom. ” 3. Confirm the uninstallation by clicking “OK. ” 4. Once uninstalled, visit the Zoom download center to reinstall Zoom.
5. Download and install Zoom from the official website.
Why Won T My Mac Install Zoom Update?
If your Mac won’t install the Zoom update, try uninstalling and reinstalling the application. This can be done by opening the Zoom desktop application, selecting “zoom. us” at the top of the screen, and choosing “Uninstall Zoom. ” After uninstalling, you can reinstall Zoom from the official download center.
This method is more reliable than relying on the automatic updater.
Conclusion
To fix the issue of Zoom not working on Mac after an update, follow these steps carefully. First, uninstall the Zoom application and all of its components. Then, reinstall Zoom from the official website. If the update installer fails or is not working, force an update by re-downloading and re-installing Zoom.
Additionally, you can check your internet connection, clear cache and cookies, and ensure that your device has enough space to install Zoom. By following these troubleshooting steps, you should be able to get Zoom back to normal on your Mac.

I write about my tech experiences to help those going through the same.