Here’s a step-by-step guide on how to fix high pitched noise in AirPods Pro. First, put your AirPods in their charging case and close the lid.
Then, open the lid and put your AirPods in your ears. Next, go to Settings > Bluetooth and check if there are any updates available. Finally, if the issue persists, try moving your AirPods away from other wireless devices or reset them and reconnect to your device.

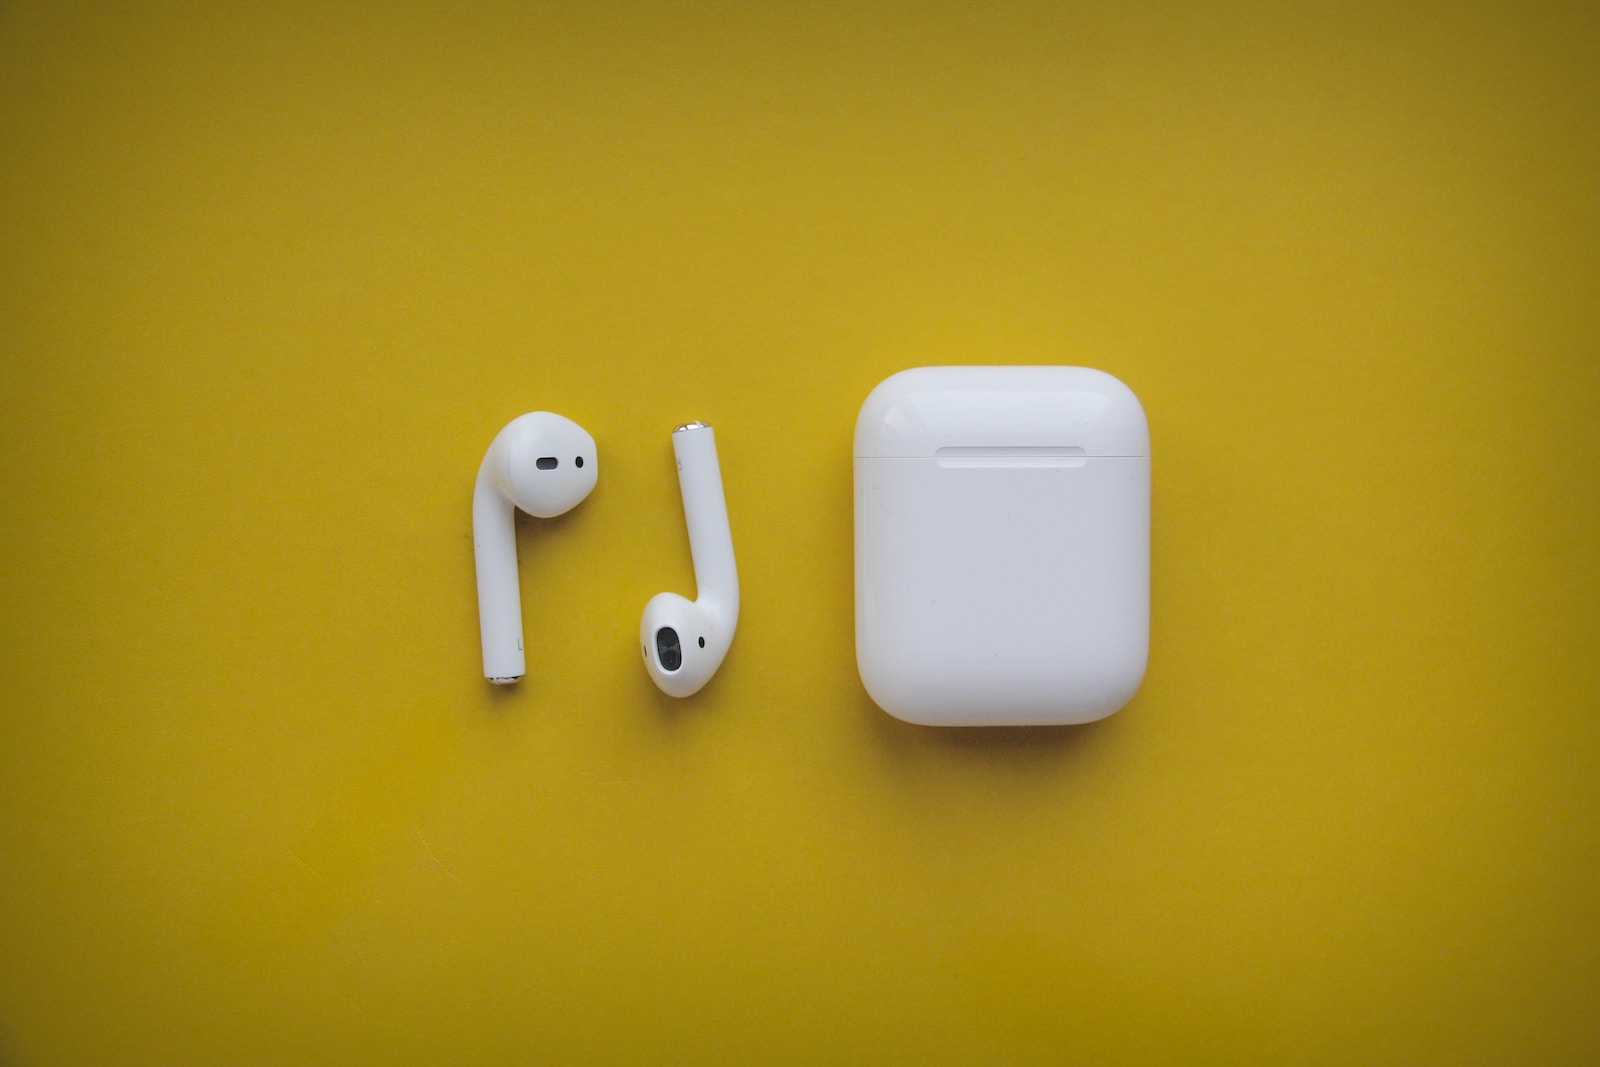
Credit: www.amazon.com
Understanding The High Pitched Noise Issue
Are you experiencing a high pitched noise issue with your Airpods Pro? Don’t worry, you’re not alone. Many users have encountered this irritating problem that affects their audio experience. In this step-by-step guide, we will dive into the causes of the high pitched noise, its effects on your audio experience, and the common scenarios when it occurs. By understanding the issue thoroughly, you’ll be better equipped to fix it and enjoy crystal-clear sound from your Airpods Pro.
Causes Of High Pitched Noise In Airpods Pro
There are several possible reasons why your Airpods Pro may produce a high pitched noise:
- Bluetooth Interference: Other wireless devices in close proximity can interfere with the Airpods Pro connection, causing the high pitched noise.
- Software Glitch: Sometimes, a software issue can trigger the high pitched noise. This can occur if your Airpods Pro firmware is outdated or if there is a bug in the system.
- Earphone Misalignment: If your Airpods Pro are not fitted correctly in your ears, it can result in an incomplete seal, leading to high pitched noise.
- Microphone Blockage: Dirt or debris accumulating around the Airpods Pro microphone can cause distortion and the high pitched noise.
Effects Of High Pitched Noise On Audio Experience
The high pitched noise coming from your Airpods Pro can significantly impact your audio experience:
- Distorted Sound Quality: The high pitched noise can interfere with the clarity and definition of the audio, making it difficult to enjoy music, podcasts, or calls.
- Reduced Immersion: The unwanted noise takes away from the immersive audio experience that Airpods Pro is known for, breaking the sense of presence and enjoyment.
- Discomfort: Continual exposure to high pitched noise can cause discomfort and annoyance, leading to a less pleasant listening experience overall.
Common Scenarios When High Pitched Noise Occurs
The high pitched noise in your Airpods Pro may happen in various situations. Here are some common scenarios:
| Situation | Possible Cause |
|---|---|
| During Phone Calls | Bluetooth interference or microphone blockage |
| While Listening to Music | Earphone misalignment or software glitch |
| In Noise Cancellation Mode | Software glitch or microphone blockage |
Identifying the specific scenario when the high pitched noise occurs can give you better insight into resolving the issue effectively.

Credit: www.amazon.com
Troubleshooting And Fixing The High Pitched Noise
If you’ve been experiencing a high pitched noise issue with your AirPods Pro, don’t worry – you’re not alone. Many users have encountered this problem, but the good news is that there are steps you can take to fix it. In this step-by-step guide, we will walk you through the troubleshooting process and help you get rid of that annoying high pitched noise. Let’s get started!
Step 1: Clean The Airpods Pro
The first thing you should do is clean your AirPods Pro. Sometimes, dirt or debris can get stuck in the speaker or microphone, causing distortion or a high pitched noise. Here’s how you can clean them:
- Start by removing the AirPods Pro from their charging case.
- Using a soft, lint-free cloth, gently wipe the exterior of the AirPods Pro to remove any dirt or smudges.
- Next, take a dry cotton swab and carefully clean the speaker and microphone meshes. Be gentle and avoid pushing any dirt further into the device.
- Once you’ve cleaned both AirPods Pro, put them back into the charging case and check if the high pitched noise is gone.
Step 2: Update The Software And Firmware
Outdated software or firmware can sometimes lead to audio issues, including high pitched noise. To ensure your AirPods Pro are running the latest version, follow these steps:
- Connect your AirPods Pro to your iPhone or iPad.
- Go to the Settings app on your device and navigate to the “General” section.
- Scroll down and select “Software Update” to check if any updates are available.
- If an update is available, follow the on-screen instructions to download and install it.
- After updating, test your AirPods Pro to see if the high pitched noise has been resolved.
Step 3: Modify Noise Control Settings
The noise control settings on your AirPods Pro can affect how they handle background noise, which might be the cause of the high pitched noise. Here’s what you can do to modify these settings:
- Open the “Settings” app on your iPhone or iPad.
- Scroll down and select “Bluetooth” to view your connected devices.
- Tap the “i” icon next to your AirPods Pro to access more options.
- Under the “Noise Control” section, select the desired mode: “Noise Cancellation”, “Transparency”, or “Off”.
- Try different modes to see if changing the noise control settings helps eliminate the high pitched noise.
Step 4: Reset The Airpods Pro
If none of the previous steps have resolved the issue, you can try resetting your AirPods Pro. Here’s how:
- Place your AirPods Pro in their charging case and keep the lid open.
- Press and hold the button on the back of the case until the LED light starts flashing white.
- Release the button and wait for the LED light on the case to turn orange and then white again.
- Close the lid of the charging case and wait for a few seconds.
- Open the lid and bring your AirPods Pro close to your iPhone or iPad to reconnect them.
Once you’ve completed these steps, check if the high pitched noise issue has been resolved. If not, you may need to contact Apple Support for further assistance.
Preventing High Pitched Noise In The Future
To prevent high-pitched noise in the future, follow this step-by-step guide on how to fix AirPods Pro high-pitched noise. By carefully cleaning the microphone grille and ensuring there are no interferences from other devices, you can enjoy uninterrupted audio quality.
Experiencing high pitched noise with your AirPods Pro can be frustrating, and you’ll definitely want to avoid it from happening again in the future. Luckily, there are a few simple steps you can take to prevent this issue:
Protecting The Airpods Pro From Moisture And Dirt
Moisture and dirt can easily find their way into the AirPods Pro, causing interference and resulting in high pitched noise. To protect your AirPods Pro, follow these tips:
- Avoid using the AirPods Pro in humid environments or during intense physical activities where sweat may accumulate.
- When not in use, keep your AirPods Pro in their charging case to prevent moisture and dirt from settling inside.
- Regularly clean your AirPods Pro by gently wiping them with a soft, lint-free cloth. Avoid using water or liquids to clean them.
Using Proper Charging Methods
Using the correct charging methods for your AirPods Pro is essential for maintaining their performance and preventing high pitched noise. Follow these steps:
- Always charge your AirPods Pro with the lid of the charging case closed to prevent moisture or debris from entering.
- Use the original Apple charging cable and adapter to ensure proper voltage and power delivery.
- To preserve battery health, avoid overcharging your AirPods Pro by removing them from the charging case once they reach full charge.
Avoiding Interference From Other Devices
Interference from other devices can disrupt the connection and cause high pitched noise in your AirPods Pro. To minimize interference:
- Keep your AirPods Pro away from other wireless devices, such as smartphones, tablets, or Bluetooth speakers.
- If you experience interference, try turning off or moving away from any nearby devices that may be causing the issue.
- If interference persists, try resetting your AirPods Pro and reconnecting them to your device. Refer to the user manual for instructions on how to reset your AirPods Pro.
By following these preventive measures, you can ensure a smooth and noise-free experience with your AirPods Pro. Don’t let high pitched noise ruin your audio enjoyment; take action today to protect and maintain the optimal performance of your AirPods Pro.
Credit: www.cdw.com
Frequently Asked Questions For How To Fix Airpods Pro High Pitched Noise: Step-by-step Guide
How Do I Fix High Pitched Noise On My Airpods?
To fix high pitched noise on your AirPods, try the following steps: 1. Put your AirPods in their charging case and close the lid. 2. Open the lid and put your AirPods in your ears. 3. Go to Settings > Bluetooth on your device.
4. If the issue persists, brush the little black microphone grille with a soft toothbrush for about a minute to remove dirt buildup. 5. If none of these solutions work, try moving your AirPods away from other wireless devices or resetting them and reconnecting to your device.
Make sure to disable Automatic Ear Detection if your AirPods emit a high-pitched squealing sound.
How Do I Fix Static Airpods?
To fix static AirPods, follow these steps: 1. Put your AirPods in the charging case and close the lid. 2. Open the lid and put the AirPods in your ears. 3. Go to Settings > Bluetooth on your device. 4.
Find your AirPods in the Bluetooth menu and tap on the (i) icon. 5. Tap on “Forget This Device” and confirm. 6. Re-pair your AirPods with your device.
How Do I Stop My Airpods Pro From Buzzing?
To stop your AirPods Pro from buzzing, try the following: 1. Clean the microphone grille with a soft toothbrush for one minute. 2. Move your AirPods away from other wireless devices that might cause interference. 3. Turn off any devices that could be causing interference.
4. Reset your AirPods and reconnect them to your device if necessary.
How Do I Fix The Hissing Sound On My Airpods Pro?
Fix the hissing sound on your AirPods Pro by gently brushing the black microphone grille with a soft toothbrush for a minute. This will remove any dirt buildup that may be causing the hissing noise.
Conclusion
To fix the high pitched noise issue on your Airpods Pro, follow the step-by-step guide provided in this blog post. By carefully implementing the suggested solutions, you can eliminate the buzzing or hissing sounds and enhance your listening experience. Remember to keep your Airpods away from other wireless devices and consider resetting them if necessary.
Don’t let the high pitched noise ruin your enjoyment of your Airpods Pro, take action with these easy-to-follow instructions.

I write about my tech experiences to help those going through the same.