To fix the issue of not being able to add an account on Oculus Quest 2, you can try restarting the VR headset or clearing the cache of the Oculus app on your phone. If the problem persists, you may need to delete and reinstall the Oculus app.
Once you’re in VR, navigate to Settings, then Account, and select Add Account. If you’re adding another account for the first time, choose Switch Account from the toolbar at the bottom of the screen.
Common Issues With Adding Oculus Quest 2 Accounts
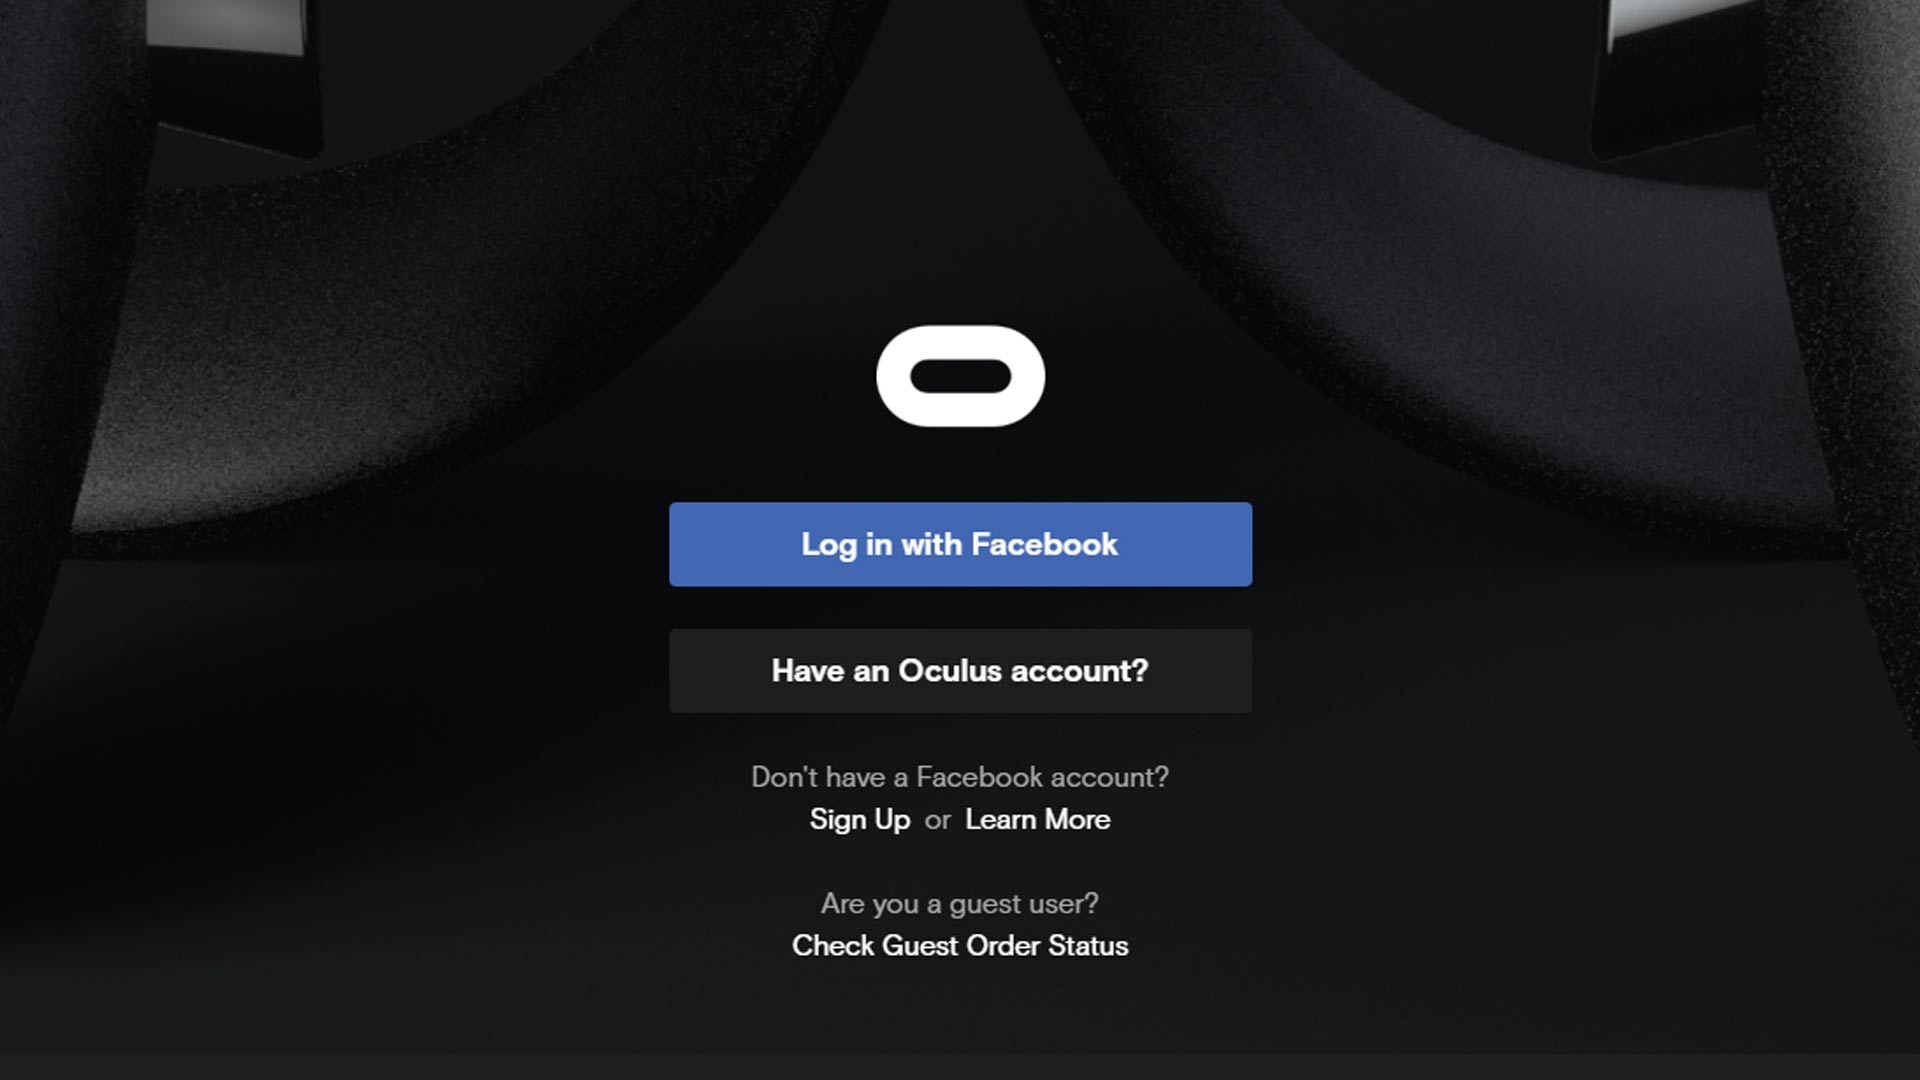
If you’ve recently purchased the Oculus Quest 2 and are excited to add additional accounts for family members or friends, you may encounter some common issues along the way. It’s important to note that Oculus Quest 2 requires a Facebook account for setup. While this requirement has posed some challenges for users, there are solutions and troubleshooting steps available to help you overcome these obstacles.
Error Message: Can’t Add Additional Accounts
One of the most common issues users face when trying to add accounts to their Oculus Quest 2 is the error message “Can’t Add Additional Accounts.” This error typically occurs when attempting to add a second user account to the headset. Luckily, there are troubleshooting steps you can follow to resolve this issue.
Troubleshooting Steps: Adding A Second User Account
If you encounter the “Can’t Add Additional Accounts” error message, you can try the following steps to troubleshoot the issue:
- Turn off your Oculus Quest 2 headset.
- Delete the Oculus App from your device.
- Open the Bluetooth settings on your phone and “forget device” to clear the cache.
- Reinstall the Oculus App on your device.
- Turn your Oculus Quest 2 headset back on and restart the pairing process.
Alternative Solutions: Connecting Multiple Oculus Headsets To One Account
If you still encounter issues after following the troubleshooting steps, there is an alternative solution you can explore. Instead of adding multiple accounts to your Oculus Quest 2, you can connect multiple Oculus headsets to one account. This allows multiple users to access the same library of apps and games without the need for individual accounts.
Note: This solution may not be suitable for users who require separate accounts for privacy or personalized experiences.
Ensuring Each Heading Adheres To Html Syntax
It is vital to adhere to HTML syntax when using H3 headings in your content. Make sure to use the
tag to indicate that a heading is of third-level importance.
Sources:

Credit: www.amazon.com
Setting Up A Meta Account And Removing Facebook On Oculus
Setting up a Meta Account and removing Facebook on Oculus can provide a more personalized and privacy-focused experience. By following a few simple steps, users can enjoy their Oculus Quest 2 without the need for a Facebook account. Here’s how:
Creating A Meta Account
To get started, users need to create a Meta Account. This account will serve as the primary profile for their Oculus Quest 2 device. To create a Meta Account, follow these steps:
- Open the Oculus app on your smartphone.
- Navigate to the Settings section.
- Select the Account tab.
- Choose Add Account.
- Follow the prompts to create your Meta Account.
Separating From Facebook
Once the Meta Account is created, users can proceed with unlinking their Oculus Quest 2 device from their Facebook account. Here’s how:
- Access the Oculus app on your smartphone.
- Go to the Settings section.
- Select the Account tab.
- Choose the Facebook Account option.
- Select the Unlink button.
Setting Up A Meta Password
Now that the Meta Account is set up, it’s important to create a strong password to secure the account. Follow these steps to set up a Meta Password:
- Access the Oculus app on your smartphone.
- Navigate to the Settings section.
- Select the Account tab.
- Choose the Password option.
- Follow the prompts to set up your Meta Password.
Configuring Horizon Profile
With the Meta Account and password in place, users can now configure their Horizon Profile. This profile includes personal settings and preferences for the Oculus Quest 2 device. To configure the Horizon Profile, follow these steps:
- Open the Oculus app on your smartphone.
- Go to the Settings section.
- Select the Account tab.
- Choose the Profile option.
- Customize your Horizon Profile according to your preferences.
Adjusting Privacy Settings
Privacy settings allow users to control their data and information shared within the Oculus Quest 2 ecosystem. To adjust privacy settings, follow these steps:
- Access the Oculus app on your smartphone.
- Navigate to the Settings section.
- Select the Account tab.
- Choose the Privacy option.
- Review and adjust the privacy settings as desired.
Connecting Headset To Meta Account
Finally, users can connect their Oculus Quest 2 headset to their newly created Meta Account. This step ensures that all activities and progress are synced with the appropriate profile. Here’s how to connect the headset:
- Turn on your Oculus Quest 2 headset.
- Put on the headset and navigate to the Settings menu.
- Select the Account option.
- Choose Add Account.
- Follow the on-screen instructions to connect your headset to your Meta Account.
By following these steps, users can easily set up a Meta Account and remove Facebook from their Oculus Quest 2 device. This process allows for a personalized and privacy-conscious virtual reality experience.
App Sharing And Multi-user Accounts On Meta Quest
Multi-user accounts and app sharing are two important features on the Meta Quest that allow users to share their headset with others and access a wide range of apps. Understanding how these features work is essential for a seamless virtual reality experience. In this section, we will explore the key aspects of multi-user accounts and app sharing on Meta Quest.
Understanding Multi-user Accounts
Multi-user accounts on Meta Quest enable multiple individuals to have their own personalized experiences on a single headset. With this feature, each user can have their own profile, game progress, and settings, without interfering with each other’s data. Setting up multi-user accounts is straightforward:
- Turn your headset off
- Delete the Oculus App
- Open Bluetooth settings on your phone and select your headset
- Choose “forget device” to clear the cache
- Reinstall the Oculus App
- Turn your headset back on and restart the pairing process
- Once in VR, navigate to Settings, then Account
- Select “Add Account”
- If it’s the first time, go to your profile picture and choose “Switch Account” in the pop-up menu
Removing User Accounts
If you need to remove a user account from your Meta Quest, the process is also straightforward:
- In VR, go to Settings, then Account
- Select the user account you want to remove
- Choose the “Remove Account” option
- Confirm the removal
App Sharing Limitations
While app sharing is a great feature for accessing a wide variety of applications, it’s important to be aware of its limitations:
- Not all apps support app sharing. Some apps may have restrictions, requiring individual purchases or subscriptions for each user.
- Installing the same game on different user accounts does not use up extra storage space. The game is shared across accounts, reducing duplicate files.
By understanding these limitations, users can make informed decisions when sharing apps with others on the Meta Quest.

Credit: m.youtube.com
Credit: www.roadtovr.com
Frequently Asked Questions For Oculus Quest 2 Can’t Add Account (easy Fix)
Why Won’t My Quest 2 Let Me Log In?
To resolve login issues on your Quest 2, follow these steps: 1. Turn off your headset. 2. Delete the Oculus App. 3. Clear the Bluetooth cache by going to your phone’s Bluetooth settings and selecting “Forget device” for your headset. 4.
Reinstall the Oculus App. 5. Restart your headset and go through the pairing process again. If you need to add another account, go to the VR menu, navigate to Settings, then Account, and select Add Account. If this is your first additional account, choose Switch Account from the pop-up menu.
Why Is My Oculus Quest 2 Not Loading My Account?
If your Oculus Quest 2 is not loading your account, try restarting the headset and clearing the cache. You can also try deleting and reinstalling the Oculus app. If you want to add another account, go to VR settings, then account, and select add account.
What To Do If Oculus Quest 2 Won’t Pair?
To troubleshoot if Oculus Quest 2 won’t pair, follow these steps: 1. Turn off the headset and delete the Oculus App. 2. Open Bluetooth settings on your phone, select your headset, and “forget device” to clear the cache. 3. Re-install the Oculus App.
4. Turn your headset back on and restart the pairing process. 5. If adding another account, navigate to Settings, then Account, and select Add Account.
How Do I Add Another Account To My Oculus Quest 2?
To add another account to your Oculus Quest 2, follow these steps: 1. Turn on your headset and navigate to Settings. 2. Select Account, then choose Add Account. 3. If it’s the first time adding another account, select your profile picture and click Switch Account.
4. Follow the prompts to set up the new account. Please note that you’ll need a Facebook account to add another account for now.
Conclusion
To summarize, adding an account on Oculus Quest 2 can be a simple fix with a few steps. Start by turning off your headset and deleting the Oculus app. Clear the cache by opening Bluetooth settings on your phone and selecting your headset to “forget device.
” Then, reinstall the Oculus app and restart the pairing process. Once in VR, navigate to Settings, then Account, and select Add Account. Remember to check your login credentials and restart the VR headset if needed. By following these steps, you’ll be able to easily add additional accounts to your Oculus Quest 2.

I write about my tech experiences to help those going through the same.